
Download the RHEL 8.3 ISO file from the official website https://access.redhat.com/downloads/content/479/
Mount the ISO on the VM.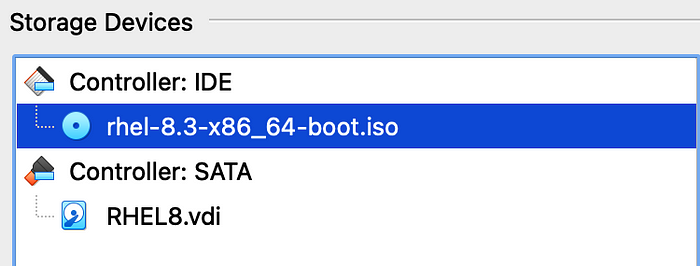
When the system boots up from installation media, you will get the following screen, use the up and down arrows to choose “Install Red Hat Enterprise Linux 8.3” and press the enter key.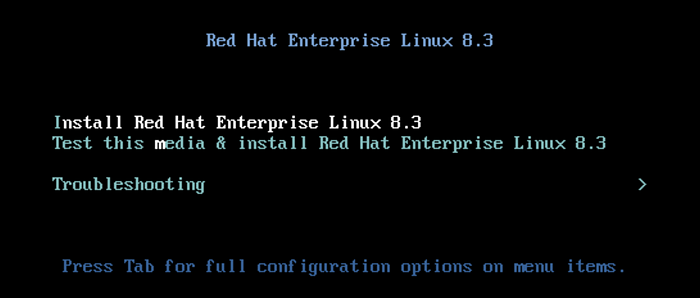
Choose the language you want to use and click Continue.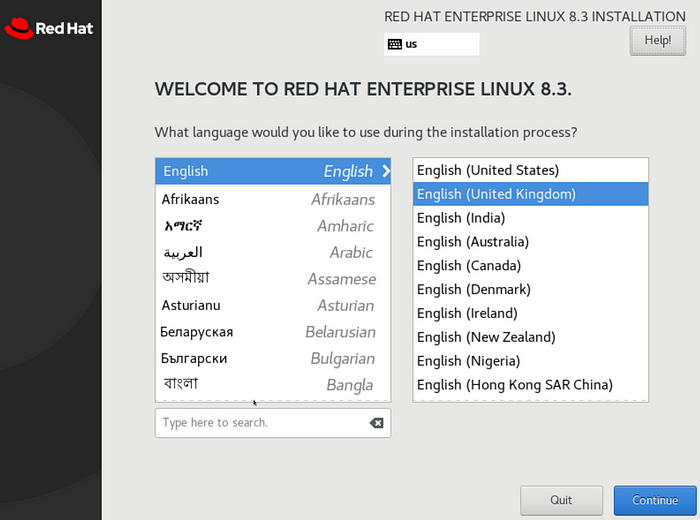
The installation summary screen will show what needs to be configured before the installation can begin.
Begin with Network & Hostname. Enable the network adapter, and the installer will attempt to obtain an IP address from a DHCP server. Otherwise, you can click 'Configure' to set an IP Address manually. Enter the hostname you want and click Apply.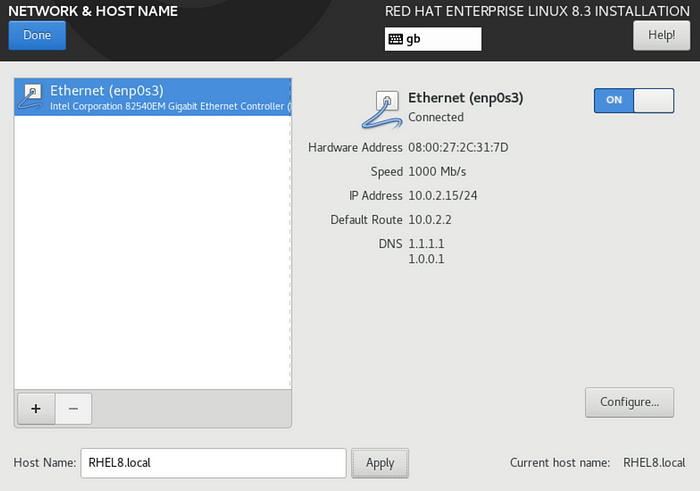
Next, set the Time and Date, including the timezone, and enable Network Time.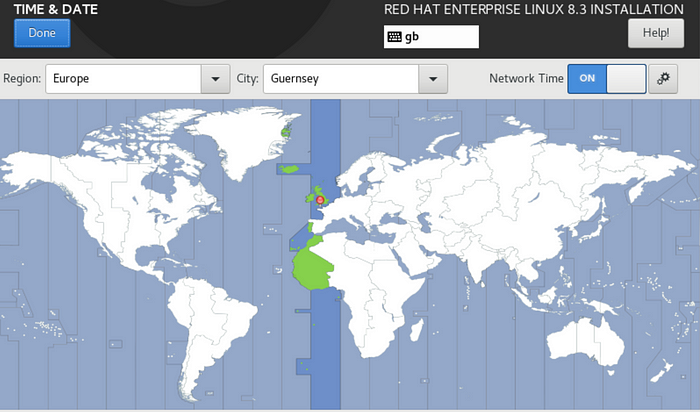
Select Root Password and enter a password for the root account.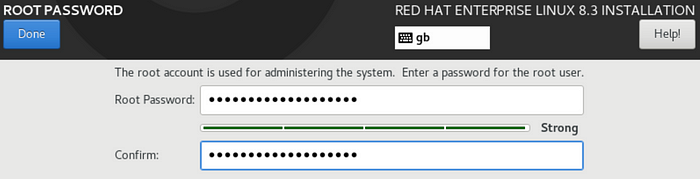
Select 'Connect to Red Hat', enter your Organization number, and activation key. You can create a new activation key on this page: https://access.redhat.com/management/activation_keys
Select the Purpose for this system and click the Register button.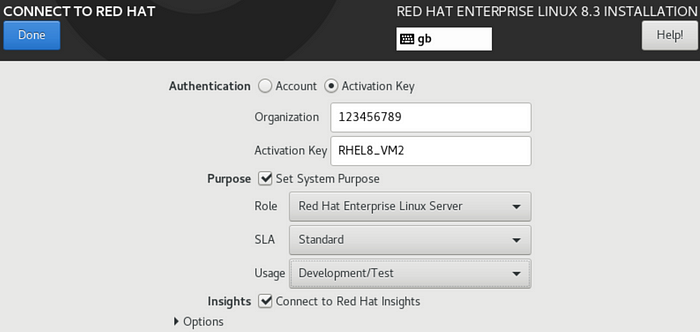
Select Create User, and create a user account.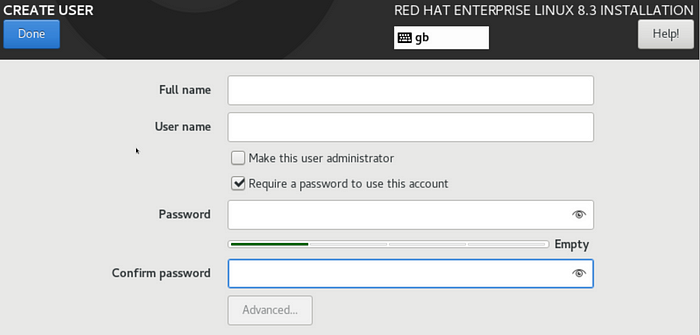
The installation screen should now be complete, and you can click the Begin Installation button to start the install.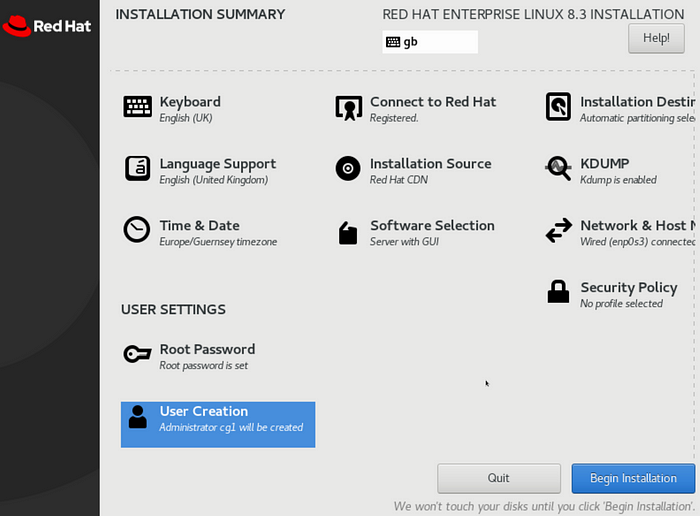
The installation will begin.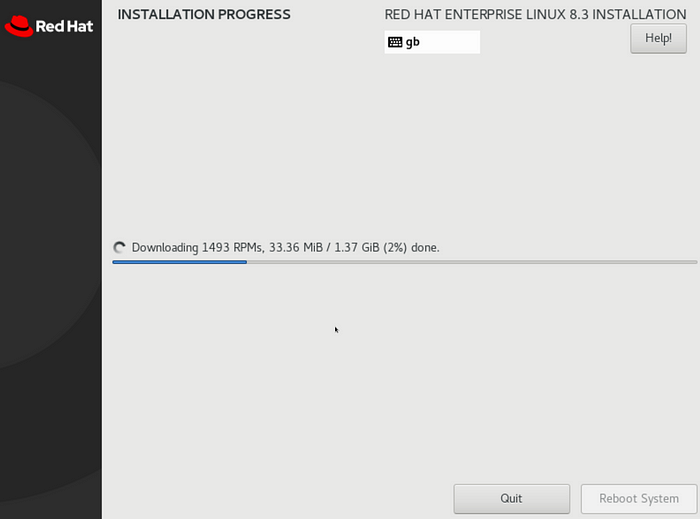
Once the install is complete, click the Reboot System button.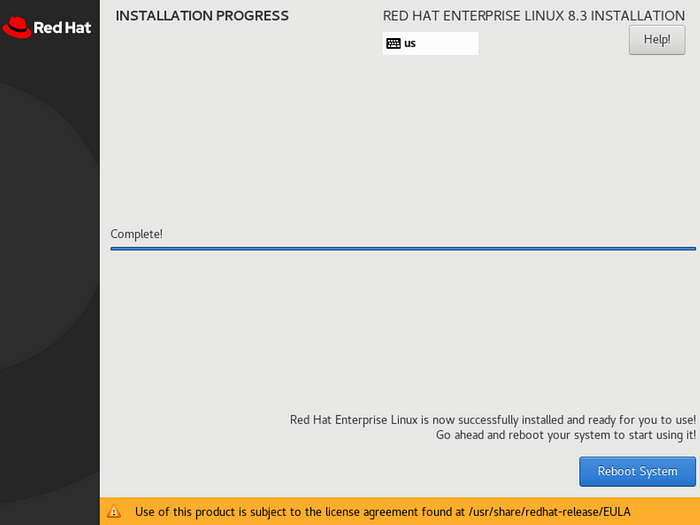
When the system boots for the first time, you will need to accept the license agreement and click Finish Configuration.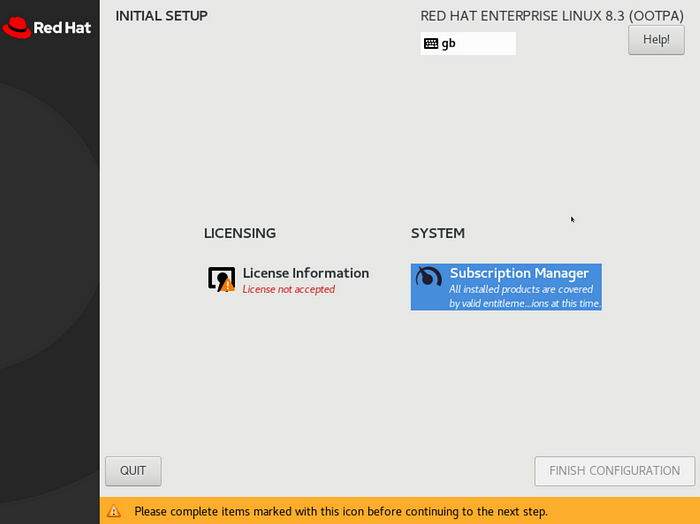
You will then be taken to the desktop if you installed the GUI and the installation is now complete.
Comments
Post a Comment